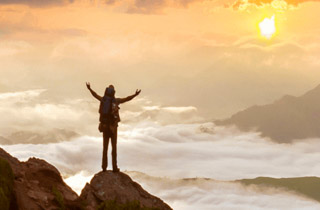
Mountain Climbing Sport Specific Training
Mountain Climbing Sport Specific Training
To give you the edge over more generalized fitness programs, include sport-specific skills and tips you’ll need to succeed with some of the following articles.
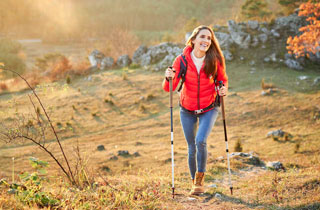
In order to build quadriceps strength and improve fitness without putting excessive stress on tentative or already painful knees, you might want to consider adding some backward travel to your training program. Try a few short bouts of walking backward up a gently inclined slope, on a slightly ramped treadmill, or jogging backward to test out how it feels.
Who Might Be a Candidate?
People who may benefit from backward-walking training include anyone who:
- Is undergoing post-surgical knee joint rehabilitation.
- Suffers from muscle strains of the hip, groin, hamstrings, or lower back
- Suffers from lower extremity injuries including sprained ankles, Achilles tears, or shin splints
- Has tried everything including ibuprofen, ice/heat treatments, complete time off from training, physical therapy, stretching, and more traditional strength training without sufficient results
- Is looking for a different stimulus or cross-training option
- Needs to be able to change directions rapidly and occasionally run backward in his or her sport (such as soccer, football, basketball, rugby, or lacrosse)
One of the elements we address throughout our book, The Outdoor Athlete (Human Kinetics: 2009) is the importance of including Back-to-Backs in programs designed for any multi-day adventure. In this article, we explore the basics of who, what, when, where, why, and how to do them for your sport.
Anyone who will be participating in multi-day trekking, backpacking, mountaineering, or climbing adventures with at least two consecutive days of pack carrying during their trip should include several back-to-backs in their training. This would also include anyone who wants to do several single-day hikes with a pack heavier than 10 pounds on successive days from a single launch point.
Not only does this prepare the body physiologically, but it also helps you be psychologically and mentally prepared to carry a pack on successive days without having to rest. Without practicing this basic overnight travel skill, you might find it shocking when you have to do it on a trip. Prepare now, enjoy later.
Early season is a great time to start ramping up your pack weight on conditioning hikes if you are getting prepared to do a summer climb of Mt. Rainier, a trip to the Grand Canyon, a trek in Nepal, or whatever your ultimate backpacking destination might be. However, it might not always be so obvious what is the best way to pack your backpack.
Should you use metal weights? Books? Water jugs? Or climbing gear? What items should go where when packing for an actual trip? Here we include a few lower back and shoulder-sparing tips for training with your pack as well as preparing for your climb, trek, or backpacking trip.
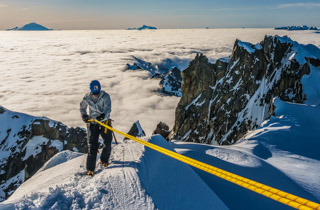
Physical conditioning is an important component that goes into preparing for a high-altitude ascent. But don’t forget psychological readiness. Below we review a typical summit day and discuss what to do in advance to prepare for your climb, both physically and mentally.
Physical Conditioning
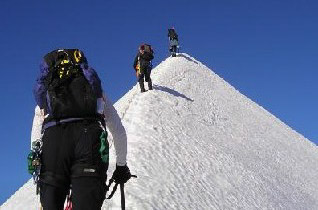
Most multi-day expeditions or high-altitude climbs require several months of solid physical conditioning leading up to them; the higher and/or longer the climb, the more involved the training. Consider a 2-day climb of a 14,400-foot peak such as Mt. Rainier, which usually involves ascending 4-5,000 feet of elevation with a heavy pack (anywhere from 35-55 pounds) on Day 1 and then going the rest of the way to the summit (4-5,000 feet) on Day 2 with a day pack, then returning to base camp to retrieve gear, and descending the remainder of the distance to the trailhead.
If you intend to climb, trek, scramble, ski, or hike above 7,000′ elevation soon, you may be wondering how your body will handle the reduced atmospheric pressure and hence the feeling of less oxygen when you are at altitude. Below are our favorite Top Ten Tips that have worked for us and clients on Adams, Rainier, Baker, Kilimanjaro, Denali, Aconcagua, and other high-altitude peaks. By knowing what has worked for others you can arm yourself with tricks to try to prevent altitude sickness or cope with it once you start experiencing the onset of symptoms of AMS (Acute Mountain Sickness.)
Hydration
Always stay thoroughly hydrated on any hike, particularly those involving travel above 7,000′ elevation. Keep urine colorless and drink before you get thirsty, as thirst usually occurs only after you are already dehydrated. This means try to drink at least 6-8 ounces every 30-45 minutes on hot summer days when you are going uphill carrying a heavy pack. Camelback hydration systems can be helpful in always having a water source nearby, but you can also clip Nalgene water bottles to a shoulder strap so you can grab a drink without having to stop and dig into your pack. At elevations above 10,000′ be sure to have an insulating tube to protect the Camelback from freezing, and carry a spare empty Nalgene in case your system freezes, so you still have access to a beverage.