Packing Your Backpack
Packing Your Backpack
Proper Pack Loading
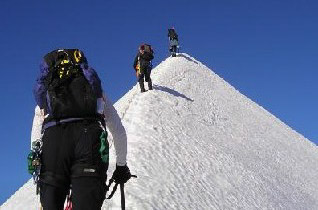
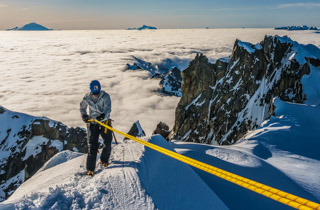
Early season is a great time to start ramping up your pack weight on conditioning hikes if you are getting prepared to do a summer climb of Mt. Rainier, a trip to the Grand Canyon, a trek in Nepal, or whatever your ultimate backpacking destination might be. However, it might not always be so obvious what is the best way to pack your backpack.
Should you use metal weights? Books? Water jugs? Or climbing gear? What items should go where when packing for an actual trip? Here we include a few lower back and shoulder-sparing tips for training with your pack as well as preparing for your climb, trek, or backpacking trip.
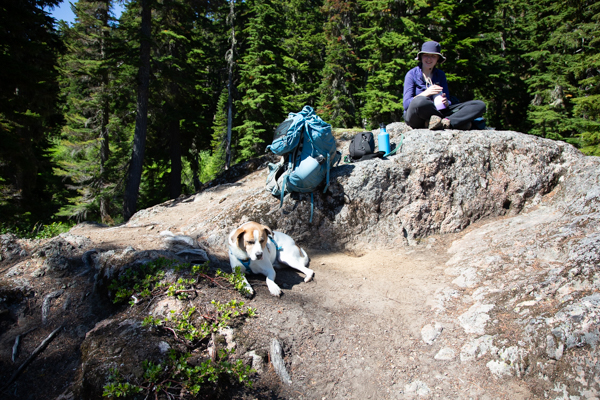
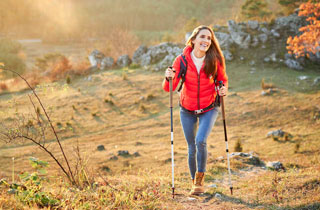
Your Pack for Training
To be as prepared as possible for your trip, you will want to carry the pack you’ll use on most of your trips so that you can figure out ahead of time how to properly adjust the shoulder straps, hip belt, and stays for ultimate comfort.
Many people think loading up your pack with rocks, dumbbells, or weight plates is a great way to add weight. However, the problem with this is the concentrated mass will be quite different from what you carry in your actual pack and may cause more problems for your neck, shoulders, and upper back than you want to deal with.
A better idea would be to put some of the heavier ropes or actual gear you will be taking with you in the bottom, with some clothing to add bulk and a few smaller weights evenly distributed throughout the pack to make the mass feel more like a real loaded pack. Furthermore, the jagged edges of rocks or concentrated mass of weight plates can shorten the lifespan of your pack — not a nice thing to think about if you have a brand new pack that costs several hundreds of dollars!
Carrying a water jug or two in the bottom of your pack is a great training option (a gallon jug weighs roughly 7-7.5 pounds) and gives you the flexibility of letting you dump the water anytime you need to lighten your load. Just be sure you can carry down from the summit whatever weight you carry up as you get closer to your climb, so the quadriceps get the added training benefits of heavier weight on the descents.
Try to increase the weight you carry each outing to no more than 3-5 pounds so that you have time to get the tendons, ligaments, and joints used to the increase, not to mention the muscles. Going out on your first hike of the season with the same pack weight you carried mid-summer last year is simply inviting soreness, pain, and overuse injuries.
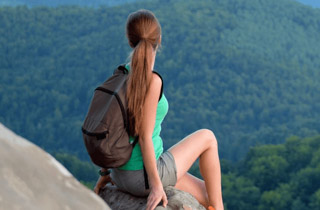
Your Pack for Hiking
One resource that is a must-have for anyone wanting to spend time in the mountains is the book, Mountaineering, Freedom of the Hills. Not only does it have all sorts of useful information about snow travel, ice axe arrest, rest stepping and travel at altitude, outdoor camping, etc. but chapter two also includes tips on selecting an appropriate pack and packing it so the load falls more on the hips rather than the back and shoulders.
- Place heavier items low and toward the core body so they will not pull you off balance as you travel. Some people prefer internal frame packs to external, as they allow you to keep the weight nice and tight to your body.
- Organize items for easy access. Place things you will not need immediately toward the bottom of your backpack. This includes such things as the tent, cooking gear, and sleeping bag. If your pack has straps on the very bottom, you can attach a sleeping pad or Thermarest to the outside.
- Take advantage of any straps your pack has that can hold wands, ice tools, helmets, or other bulky items on the outside whenever possible. That said, however, think of the terrain you will be crossing. If you will be hiking through dense brush that can catch on your gear, you will want to have a larger, compact pack that allows nearly everything to be stored inside.
- Use small stuff sacks to keep gear dry (the smaller the better, or you will find space becomes an issue), especially the important items like a down sleeping bag and down jacket. Another helpful tip is to line your pack with a resistant trash compactor bag that can protect all your stuff from moisture and can act as an emergency waterproof layer in a pinch.
- Place any extra clothes you won’t need until reaching camp above your tent but below the food and other things you may want easier access to. Keep the ten essentials (rain gear, map/compass, first aid, etc.) in compartments on the outside or top to allow quick and easy access. Attach a water bottle or Camelback within reach so you can hydrate quickly, easily, and often.
Finally, keep your eyes open for seminars offered through local outdoor equipment stores (for example, REI offers these frequently throughout the summer) or community hiking organizations on how to properly pack for your trip. Enjoy!